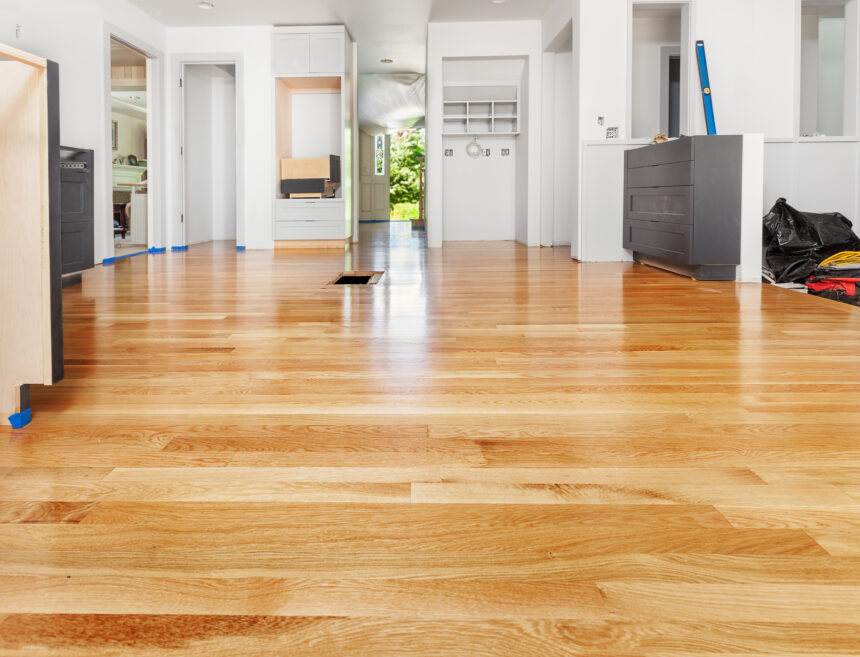
Hardwood floors are a timeless feature in any home, offering both beauty and durability. Over time, however, even the most well-maintained floors can show signs of wear and tear. Scratches, dullness, and minor damage can detract from their natural charm. Fortunately, hardwood floor refinishing can restore the original beauty and value of your floors. Here’s a comprehensive guide on how to bring your hardwood floors back to life, especially if you’re considering hardwood floor refinishing in Chicago.
1. Assessing the Condition of Your Floors
Before starting the refinishing process, it’s crucial to assess the condition of your floors. Look for deep scratches, stains, or water damage. Minor surface imperfections can be addressed with refinishing, but significant structural issues might require more extensive repairs or even replacement of sections of the flooring.
2. Gathering the Right Tools and Materials
Successful refinishing requires the right tools and materials. You’ll need a drum sander, edger, sandpaper in various grits, a vacuum or broom, tack cloths, a stain (if you want to change the color), and a polyurethane finish. Ensure that you also have protective gear, such as a dust mask, safety glasses, and ear protection.
3. Preparing the Area
Preparation is key to a smooth refinishing process. Start by removing all furniture and covering vents, doorways, and other areas to contain dust. Clean the floors thoroughly to remove dirt and debris. Any residue left on the floor can interfere with the sanding and finishing process.
4. Sanding the Floors
Sanding removes the old finish and smooths out imperfections. Start with a coarse grit sandpaper to strip away the existing finish and gradually move to finer grits for a smooth surface. Be sure to sand evenly to avoid creating low spots. An edger will help you reach corners and edges that the drum sander can’t access.
5. Cleaning Up
After sanding, vacuum the entire area meticulously to remove all dust. Follow up with a tack cloth to pick up any remaining particles. Dust and debris can ruin the final finish, so thorough cleaning is essential.
6. Staining (Optional)
If you wish to change the color of your hardwood floors, now is the time to apply a stain. Test the stain on a small, inconspicuous area first to ensure you like the color. Apply the stain evenly with a cloth or brush, following the manufacturer’s instructions. Allow it to dry completely before moving to the next step.
7. Applying the Finish
The finish protects your floors and gives them a beautiful sheen. Polyurethane is a popular choice due to its durability and ease of application. Apply the finish in thin, even coats, allowing each coat to dry thoroughly before applying the next. Sand lightly between coats with a very fine grit sandpaper for a smooth, professional look.
8. Allowing for Proper Drying Time
Patience is critical in the refinishing process. Allow sufficient drying time for the finish, as recommended by the manufacturer. Avoid walking on the floors or placing furniture back until the finish is fully cured to prevent damage.
9. Hiring Professionals
While DIY refinishing can be rewarding, it’s not always the best option for everyone. If you’re unsure about your skills or the time commitment, hiring a professional can ensure a flawless finish. For those in the Windy City, hardwood floor refinishing Chicago offers a range of skilled professionals who can restore your floors to their original splendor. Refinishing hardwood floors is a worthwhile investment that enhances the aesthetic appeal and value of your home. By following these steps and considering professional help when needed, you can enjoy stunning floors that look as good as new.


