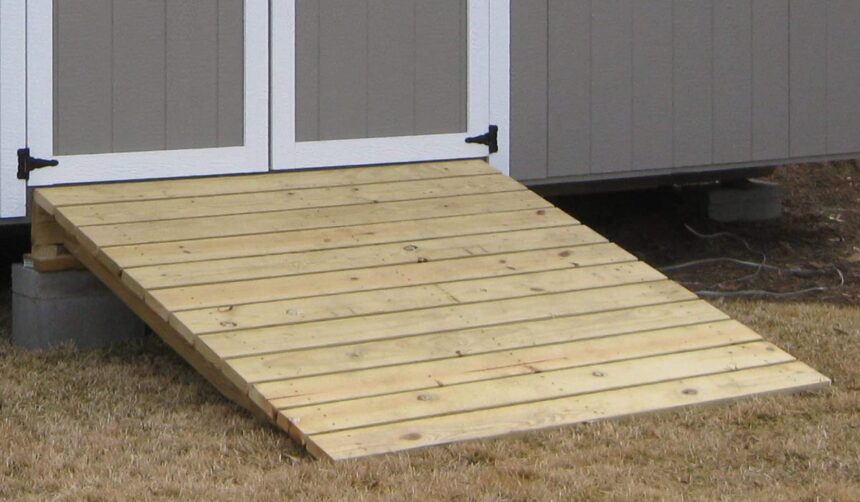
Are you tired of struggling to get your lawn mower, wheelbarrow, or other heavy equipment in and out of your shed? A shed ramp can make your life so much easier, and using pavers is a great way to create a durable, attractive ramp that will last for years.
In this article, I’ll walk you through the process of building a shed ramp with pavers, step by step.
Why Use Pavers for Your Shed Ramp?
Pavers are an excellent choice for building a shed ramp for several reasons:
- Durability: Pavers are made from tough, weather-resistant materials like concrete or brick, so they can withstand heavy use and exposure to the elements.
- Aesthetics: Pavers come in a variety of colors, shapes, and textures, so you can create a ramp that complements your shed and landscaping.
- Easy installation: With a little bit of preparation and some basic tools, you can install a paver ramp yourself in just a few hours.
Planning Your Shed Ramp
Before you start building your ramp, you’ll need to do some planning to ensure that it meets your needs and complies with any local building codes. Here are some things to consider:
- Size: Measure the width of your shed door and the height of the threshold to determine the size of your ramp. A good rule of thumb is to make the ramp at least 36 inches wide and to have a slope of no more than 1 inch of rise for every 12 inches of run.
- Location: Choose a location for your ramp that is level and well-drained. Avoid placing the ramp in low-lying areas where water can collect.
- Materials: In addition to pavers, you’ll need gravel, sand, and a few tools like a shovel, level, and rubber mallet.
Building Your Shed Ramp
Once you have your plan in place, it’s time to start building your ramp. Here’s how to do it:
Step 1: Prepare the Area
Start by removing any grass or vegetation from the area where you’ll be building your ramp. Use a shovel to excavate the soil to a depth of about 6 inches, making sure the area is level.
Step 2: Add Gravel and Sand
Next, add a layer of gravel to the excavated area and use a tamper to compact it. Then, add a layer of sand on top of the gravel and use a level to make sure it’s even.
Step 3: Lay the Pavers
Starting at the bottom of the ramp, lay the pavers in your desired pattern, using a rubber mallet to tap them into place. Make sure each paver is level and flush with its neighbors.
Step 4: Cut Pavers as Needed
If you need to cut pavers to fit around the edges of the ramp, use a masonry saw or a hammer and chisel to make the cuts.
Step 5: Add Edging (Optional)
If desired, you can add edging along the sides of the ramp to help hold the pavers in place and create a finished look. Use plastic or metal edging and secure it with stakes.
Step 6: Fill Joints with Sand
Once all the pavers are in place, fill the joints between them with sand. Use a broom to sweep the sand into the cracks, then mist the surface with water to help the sand settle.
Where to Find Quality Shed Kits?
If you’re in the market for a new shed to go with your beautiful new ramp, I highly recommend checking out the HomesteadSupplier hub. They offer a wide selection of high-quality shed kits that are easy to assemble and built to last.
Plus, their customer service is top-notch, so you can feel confident in your purchase.
Conclusion
Building a shed ramp with pavers is a relatively simple project that can make a big difference in the functionality and appearance of your outdoor space. By following these steps and using quality materials, you can create a ramp that will provide years of reliable service.
And if you’re looking for a new shed to go with your ramp, don’t forget to visit the Homestead Supplier hub for a great selection of options.


