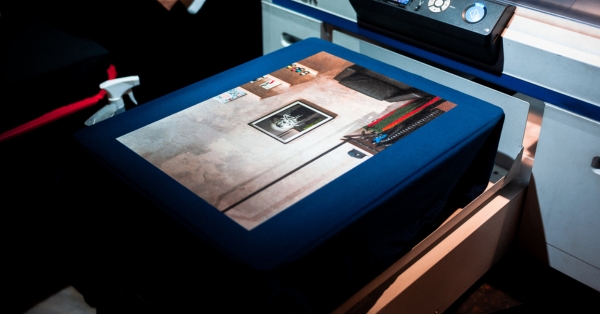
Direct to Film (DTF) printing offers a fantastic way to create vibrant, detailed designs for a variety of garments and fabrics. However, achieving consistent, high-quality results can be a learning curve. This blog post will equip you with essential troubleshooting tips to navigate common DTF printing challenges and ensure successful prints every time.
Equipment Calibration and Maintenance
Your DTF printer is a workhorse, and proper care is vital for optimal performance. Regularly perform cleaning cycles according to your printer’s manual. This removes dried ink and dust buildup that can cause clogged printheads, resulting in streaky or incomplete prints. Invest in high-quality cleaning solutions specifically designed for DTF printers to avoid damaging sensitive components.
Calibration is equally important. Regularly calibrate your printer’s head alignment to ensure accurate ink placement and prevent image distortion. Additionally, ensure your ink cartridges are properly installed and ink levels are maintained to avoid interruptions during printing. Consider using a DTF ULTRA-DTF Printer known for its reliability and ease of maintenance.
Choosing the Right Film and Mesh Combination
The film and mesh combination you choose significantly impacts the final print quality. Opt for high-quality PET films specifically designed for DTF printing. These films offer excellent ink absorption and release properties, ensuring vibrant colors and crisp details. Consider factors like film thickness and flexibility for your specific application.
Mesh selection plays a crucial role in ink transfer efficiency. A finer mesh count allows for higher detail in your prints but may limit ink flow. Conversely, a coarser mesh allows for better ink flow but may result in a slightly grainy texture. Experiment with different mesh counts to find the optimal balance for your needs.
Proper Screen Preparation Techniques
Screen preparation sets the stage for successful ink transfer. Ensure your mesh is thoroughly cleaned and free of dust or debris. Utilize a high-quality emulsion specifically formulated for DTF printing. Coating the mesh with a consistent emulsion layer is crucial for achieving even ink deposits. Use a proper coating trough and squeegee to ensure a smooth and even emulsion application.
Once the emulsion is coated, proceed with proper drying procedures as recommended by the manufacturer. Improper drying can lead to pinholes in the emulsion, resulting in ink bleeding during the printing process. Finally, meticulously burn the emulsion onto the mesh using a light source with the appropriate intensity and duration. A proper burn will create a stencil that allows ink to pass through desired areas while blocking it in unwanted areas.
Image File Preparation and Optimization
The quality of your image file directly translates to the quality of your DTF print. Ensure your artwork is created in a high-resolution format (300 dpi or higher) to avoid pixelation in the final print. For best results, use a CMYK color profile, as DTF printing uses a similar color model.
When working with dark-colored garments, consider adding a white underlay to your artwork. This white base ensures vibrant colors on darker fabrics. Software programs like Adobe Photoshop offer tools to create separation layers for white underlays and other special effects.
Ink Selection and Mixing Guidelines
DTF inks come in a variety of colors, including white ink specifically designed for creating a vibrant base on dark fabrics. Always use inks compatible with your DTF printer and film combination. Mixing inks can be necessary to achieve specific colors; however, ensure you use proper mixing ratios as recommended by the ink manufacturer. Improper mixing can affect ink viscosity and lead to printing inconsistencies.
Managing Exposure Times and Light Sources
Exposure time plays a critical role in the emulsion curing process. Underexposure results in a weak stencil that allows ink bleed, while overexposure creates a hardened stencil that hinders ink transfer. Utilize a proper DTF exposure calculator or consult your emulsion manufacturer’s recommendations to determine the optimal exposure time for your light source and emulsion type.
The light source used for burning the emulsion also impacts the final outcome. Ensure your light source emits UV light at the appropriate wavelength for your chosen emulsion. Fluorescent lights are generally not suitable for DTF printing due to their inconsistent UV spectrum.
Conclusion
DTF printing offers a powerful tool for creating stunning custom garments. By following these troubleshooting tips and maintaining your equipment, you can overcome common challenges and achieve consistent, high-quality DTF prints. Remember, practice makes perfect. Experiment with different techniques and settings to find what works best for you and unleash your creativity with DTF printing!


